

Introduction to Low-Cost Drip Irrigation
Drip irrigation is one of the most efficient ways to save water and improve crop yield, but many farmers assume it is expensive. The reality is that a simple drip system can be installed at low cost using basic materials and smart planning.
With proper setup, even small farmers can benefit from water-saving irrigation without heavy investment.
Why Choose Drip Irrigation
Drip irrigation delivers water directly to the plant root zone in controlled amounts, reducing wastage and improving efficiency.
It helps increase crop yield, reduce labor cost, and minimize weed growth.
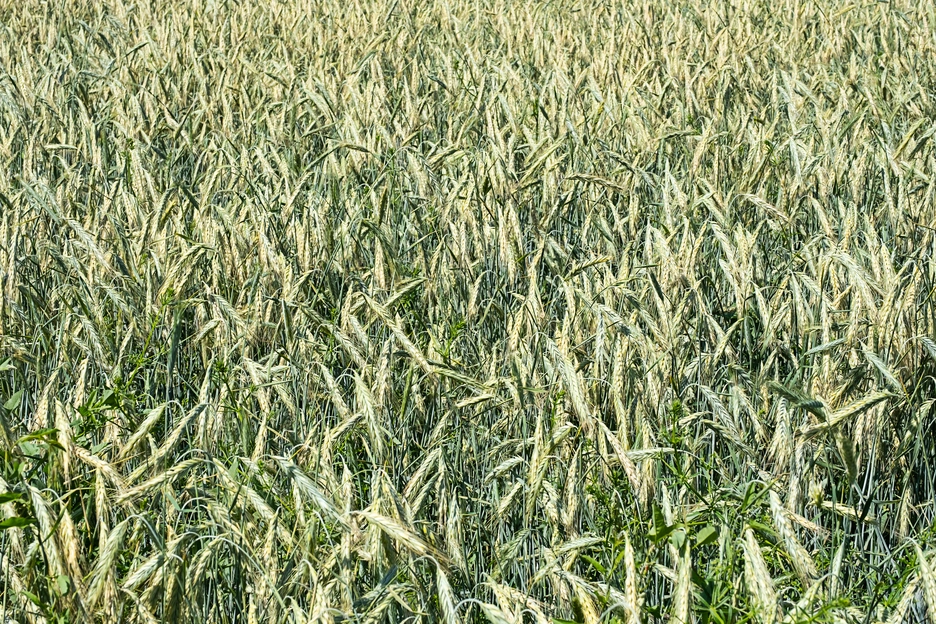
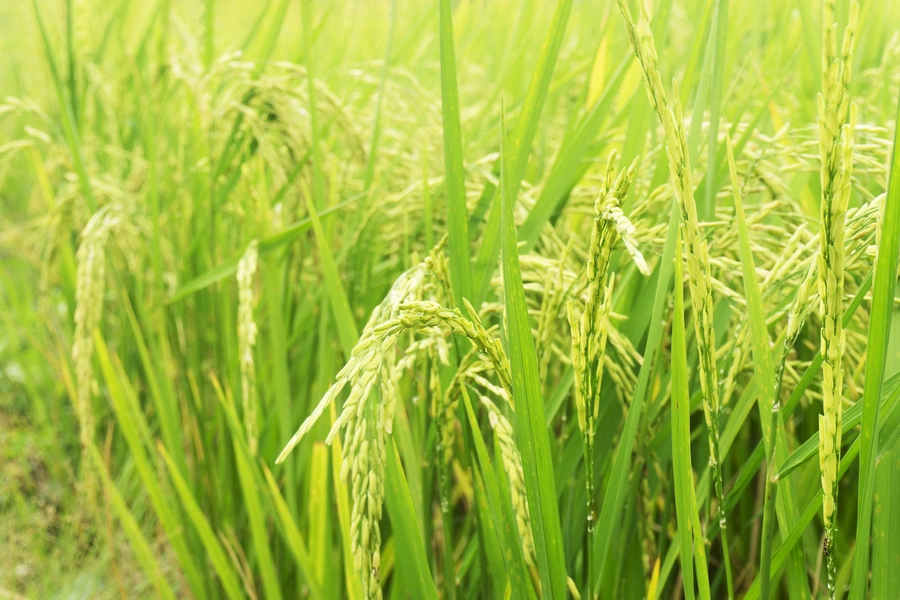
This system is especially useful for vegetables, fruits, orchards, and row crops.
Step 1: Plan Your Field Layout
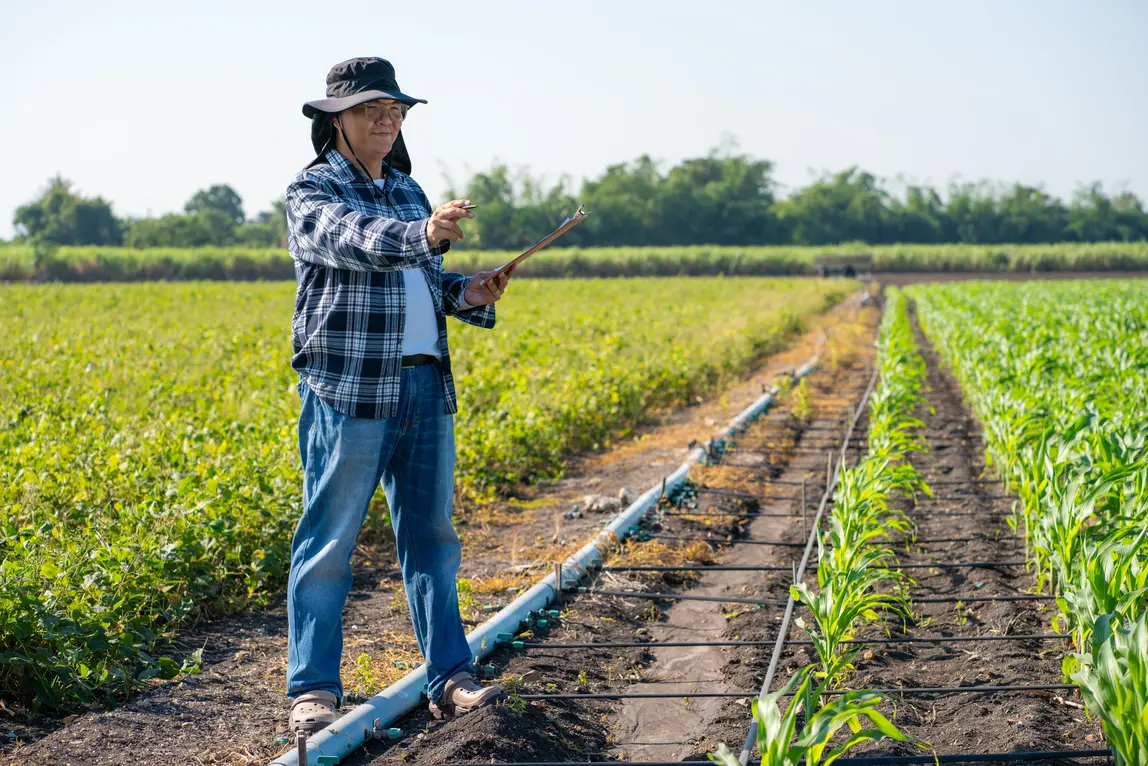
Before installation, carefully plan your field layout based on crop type, spacing, and water source location.
Mark rows where pipes will be placed and identify zones for efficient water distribution.
A simple plan helps reduce material cost and avoids unnecessary piping.
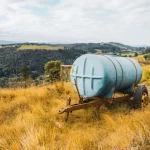
Step 2: Choose a Water Source
A reliable water source is essential for drip irrigation. It can be a tube well, canal water, storage tank, or pond.
If possible, install a small water storage tank to maintain consistent pressure.
Clean water helps prevent clogging in the drip system.
Step 3: Use Low-Cost Materials
To reduce cost, farmers can use locally available and affordable materials.
Basic components include PVC pipes, drip laterals, connectors, valves, and simple filters.
Recycled or second-hand pipes can also be used for small-scale farming.
Step 4: Install Main Pipeline
The main pipeline carries water from the source to different sections of the field.
Lay the pipe along the edge or center of the field depending on layout design.
Ensure proper sealing to avoid leakage and water loss.
Step 5: Set Up Sub-Main Lines
Sub-main lines distribute water from the main pipe to different crop rows.
Use smaller diameter pipes for sub-lines to reduce cost.
Proper spacing ensures even water distribution across the field.
Step 6: Install Drip Laterals
Drip laterals are thin pipes placed along crop rows that deliver water directly to plant roots.
Small holes or emitters are used to control water flow.
Ensure emitters are placed near each plant for maximum efficiency.
Step 7: Add a Simple Filter System
Filters are important to prevent clogging in drip lines. Even a basic sand or mesh filter can work effectively.
Cleaning water before it enters the system improves performance and lifespan.
This is a low-cost but essential component of drip irrigation.
Step 8: Use Gravity-Based System (Low-Cost Option)
Instead of pumps, farmers can use gravity-fed systems by placing a water tank at a higher level.
This reduces electricity costs and makes the system more affordable.
Gravity systems are ideal for small farms and home gardens.
Step 9: Install Simple Valves for Control
Valves help control water flow to different parts of the field.
Using manual valves reduces cost compared to automated systems.
Proper control prevents over-irrigation and water wastage.
Step 10: Test the System Before Use
After installation, run the system to check for leaks, blockages, or uneven water distribution.
Fix any issues immediately to ensure proper performance.
Testing helps improve efficiency before full-scale use.
Step 11: Proper Spacing of Emitters
Emitter spacing depends on crop type and soil condition.
Closer spacing is needed for vegetables, while wider spacing works for orchards.
Correct placement ensures uniform moisture for all plants.
Step 12: Maintenance for Long-Term Use
Regular maintenance is important to keep the system working efficiently.
Clean filters, check pipes for leaks, and flush lines periodically.
Proper maintenance extends system life and reduces repair costs.
Cost-Saving Tips for Drip Irrigation
Farmers can reduce installation cost by using locally available materials, installing the system themselves, and starting with small sections of land.
Expanding the system gradually helps manage investment better.
Government subsidies and agricultural support programs may also reduce overall cost.
Benefits of Low-Cost Drip Irrigation
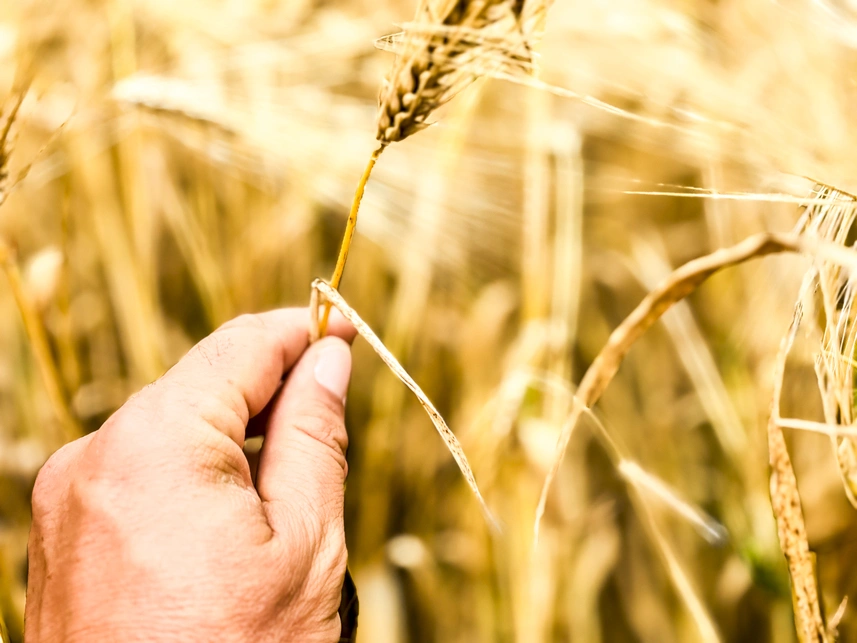
Even a simple drip system provides major benefits such as water saving, improved crop yield, and reduced labor costs.
It ensures precise water delivery and supports healthy plant growth.
Farmers can achieve higher profitability with lower input costs.
Common Mistakes to Avoid
Many farmers make mistakes like poor planning, ignoring filters, and using low-quality pipes.
Incorrect emitter placement and lack of maintenance can reduce system efficiency.
Proper setup and regular care are essential for success.
Conclusion
Installing drip irrigation at low cost is possible with proper planning, simple materials, and basic technical knowledge. Even small farmers can benefit from this system without heavy investment.
By using gravity systems, low-cost components, and proper maintenance, farmers can save water, reduce costs, and improve crop yield effectively.